xRDP is a a free and open source Remote Desktop Protocol Server that allows other operating systems, other than Windows, to provide a fully functional remote desktop experience.
xRDP is fully compatible with rdesktop, FreeRDP and even Microsoft’s Remote Desktop Client.
Prerequisites
- Although not absolutely required, we recommend acting as a
non-root sudo userwhen proceeding to make any major changes to your system. - A machine running CentOS 7 with a minimum of 2GB RAM.
Get a High RAM VPS at Entry-level Pricing
Starting with 2GB RAM at $6.99/month
Take your pick from our KVM VPS that offer a generous amount of RAM at an affordable price. We've got 5 plans for you to choose from, our smallest featuring 2GB RAM at $6.99/mo.
- SSD Drives
- KVM Virtualization
- 1Gbps Shared Uplink
- Location: Chicago, IL
Pick one of our KVM plans
Step 1 – Install xRDP on CentOS 7
First, update your package index:
sudo yum -y update$ sudo yum install -y epel-release$ sudo yum install -y xrdp$ sudo systemctl enable xrdp$ sudo systemctl start xrdpIf you’re using FirewallD, then open port 3389/tcp for RDP:
$ sudo firewall-cmd --add-port=3389/tcp --permanent$ sudo firewall-cmd --reloadStep 2 – Install Your Preferred Desktop Environment
Now we can install the desktop environment we’ll be using. In this guide we’ll try out XFCE, MATE, and GNOME.
If you’re looking for a lightweight and resource friendly solution, install XFCE.
NOTE: If you can’t connect via Remote Desktop Connection after you’ve installed the desktop environment, then open port
3389/tcpusing thefirewall-cmdcommand mentioned above.
1. Install XFCE Desktop Environment
XFCE is one of the most lightweight desktop environments. It’s fast, low on system resources, while still visually appealing. Additionally, it has a very active community, so there are many customization options available.
To install XFCE, run the following commands:
$ sudo yum install -y epel-release$ sudo yum groupinstall -y "Xfce"$ sudo rebootNext, create the .Xclients file in the directory of the user you’re connecting with:
$ echo "xfce4-session" ~/.Xclients$ chmod a+x ~/.XclientsNow you can connect to the server using Remote Desktop Connection.
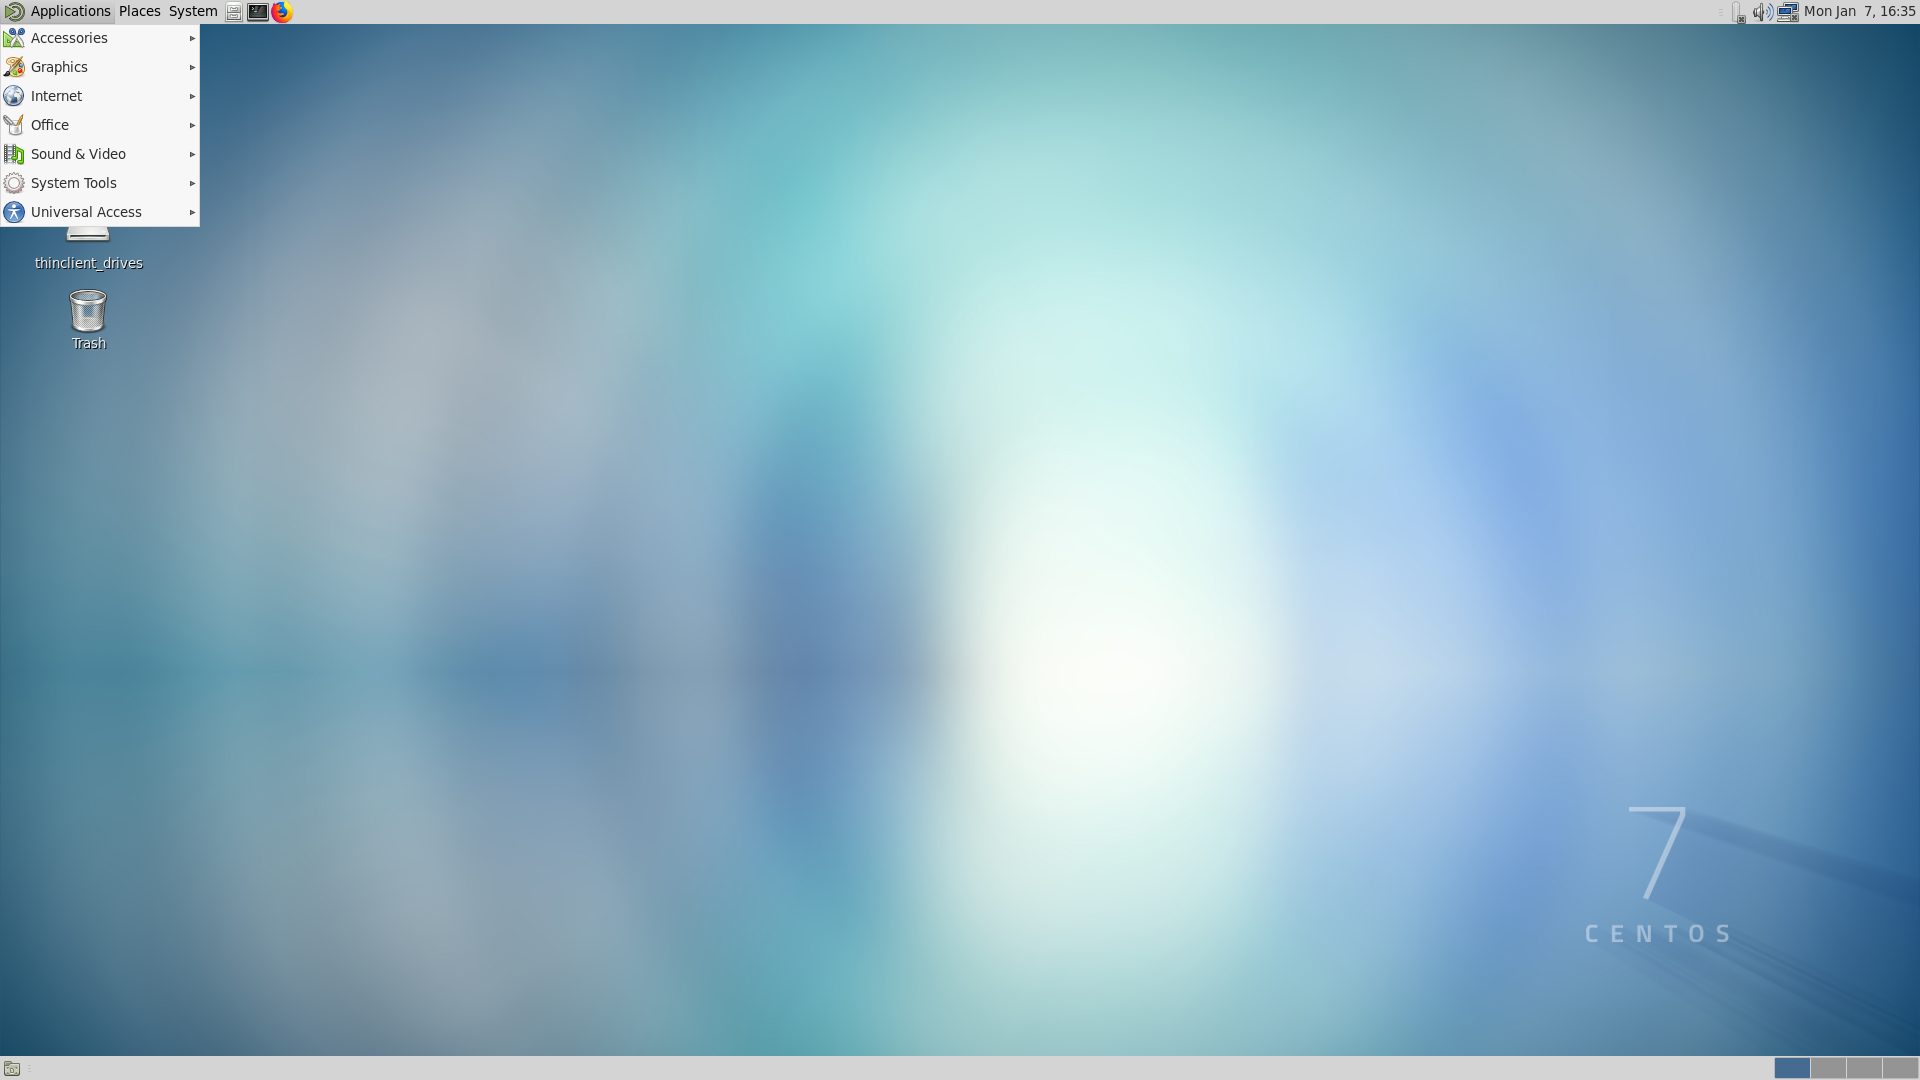
Here is what XFCE looks like:
Uninstalling XFCE
To uninstall XFCE from your CentOS 7 machine, run the following commands:
$ sudo yum groupremove -y "Xfce"$ sudo yum remove -y libxfce4*2. Install MATE Desktop Environment
To install MATE, run the following commands:
$ sudo yum install -y epel-release$ sudo yum groupinstall -y "MATE Desktop"$ sudo rebootNext, create the .Xclients file in the directory of the user you’re connecting with:
$ echo "mate-session" ~/.Xclients$ chmod a+x ~/.XclientsNow you can connect to the server using Remote Desktop Connection.
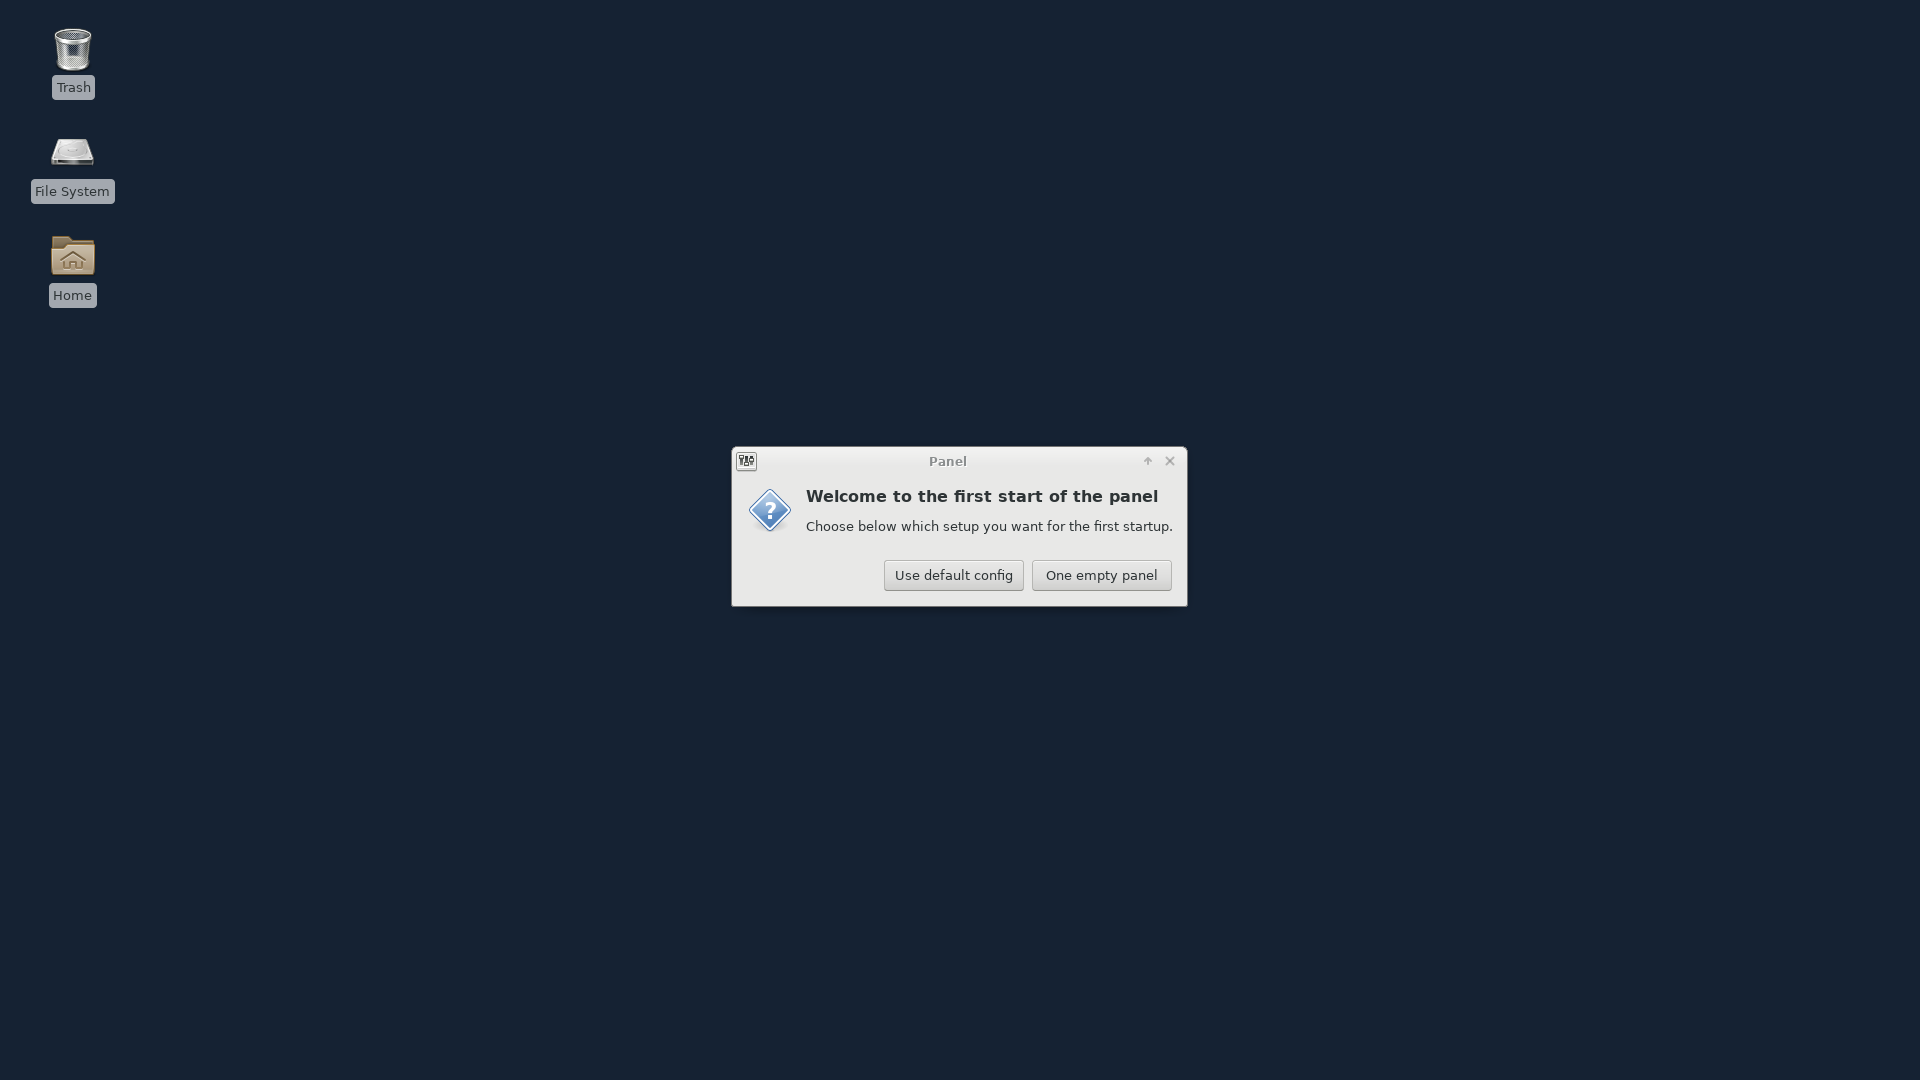
Here is what MATE looks like:
Uninstalling MATE
To uninstall MATE from your CentOS 7 machine, run the following commands:
$ sudo yum groupremove -y "MATE Desktop"$ sudo yum autoremove -y3. Install GNOME Desktop Evironment
We’ll now install GNOME 3.
To do this, we’ll just have to install the GNOME Desktop package group, which will install all the packages required for the GUI installation.
$ sudo yum groupinstall "GNOME DESKTOP" -yThis may take a while. There were ~1000 packages installed on a minimal CentOS 7 installation.
Start the GUI
Although we installed the GNOME Desktop package group, the GUI will not be loaded by default on reboot.
We can check this by running:
$ systemctl get-defaultOutput:
multi-user.targetIf our default target is multi-user.target, it means that the GUI will not be loaded. What we want is to set the default target to graphical.target.
To do this, run the following commands:
$ sudo systemctl set-default graphical.targetOutput:
Removed symlink /etc/systemd/system/default.target.Created symlink from /etc/systemd/system/default.target to /usr/lib/systemd/system/graphical.target.After which, run the following command to change to the GUI immediately:
$ sudo systemctl isolate graphical.targetThat’s it. You can now connect via xRDP to your CentOS 7 machine using GNOME.
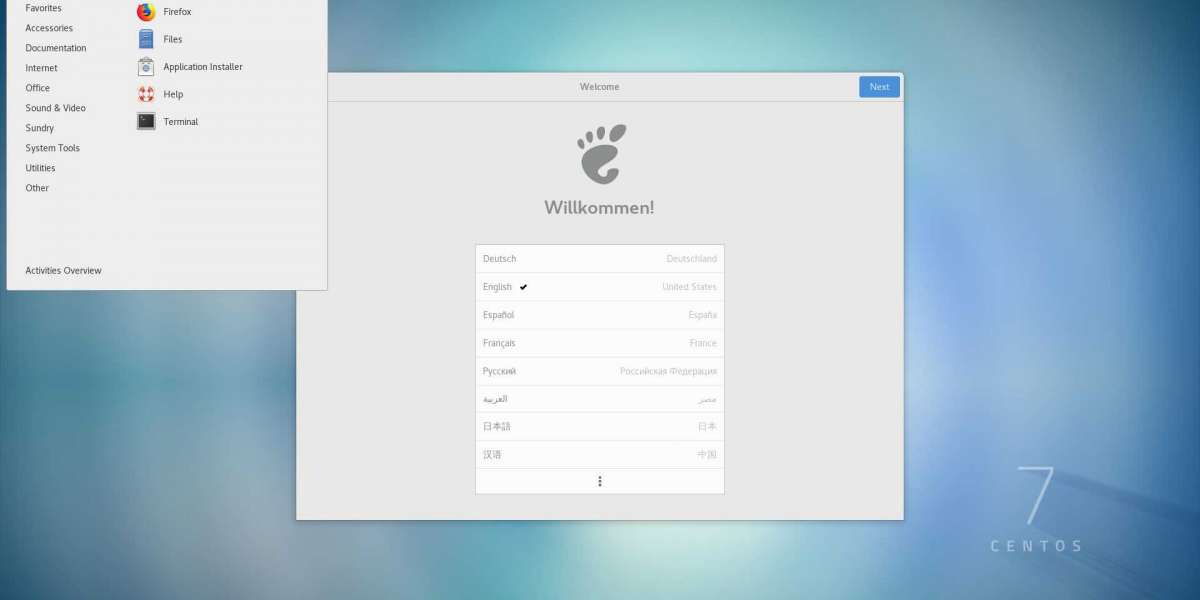
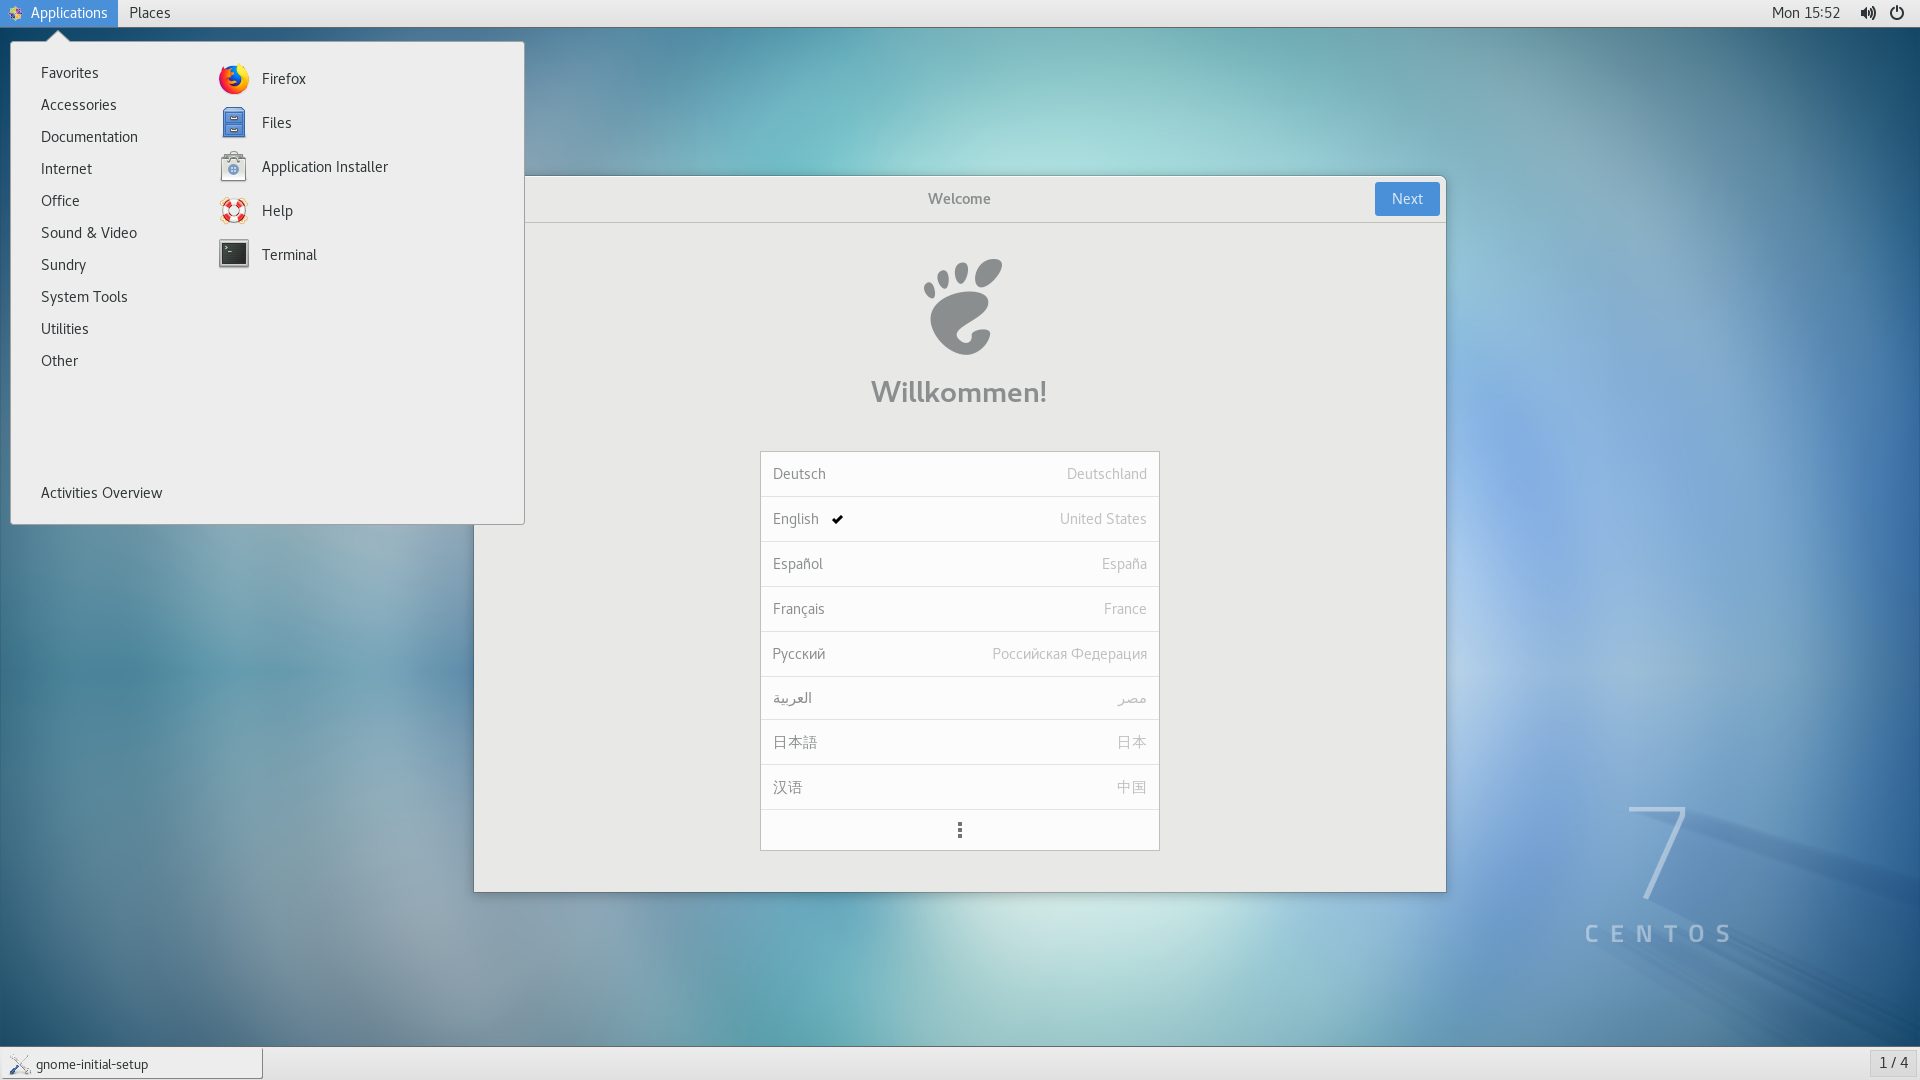
Here is what GNOME 3 looks like, the first time you connect after installing. Just follow the initial configuration steps to finish setting up.
Uninstalling GNOME
To uninstall GNOME from your CentOS 7 machine, run the following commands:
$ sudo yum groupremove -y "GNOME Desktop"$ sudo yum autoremove -yStep 3 – Connect to Your Machine Using Remote Desktop Connection
With xRDP and your desktop environment installed, you can now connect from your local machine to the remote machine.
How you do this depends on your operating system.
Connect from Windows
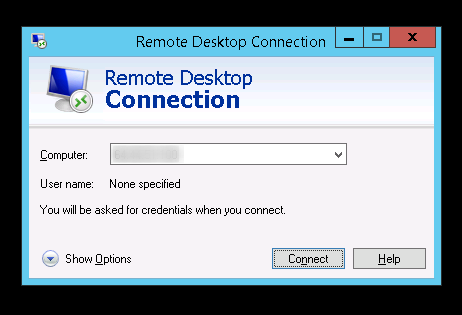
To connect to your server from Microsoft Windows, just search and launch the Remote Desktop Connection application and input your hostname or IP:
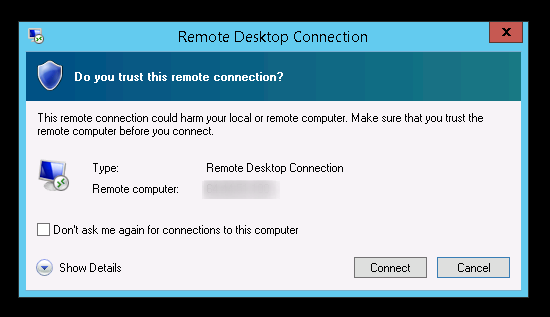
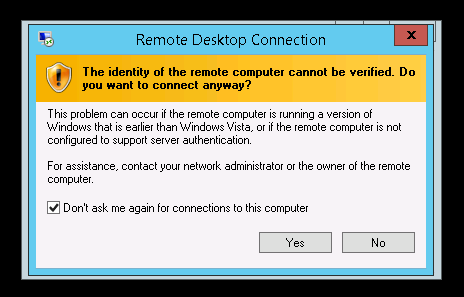
If this is your first time connecting, then you’ll receive some security warnings. Assuming this is your server and it is secure then just go ahead and confirm them.
Connect from Linux
To connect from a Linux machine, a great option for using remote desktop connection is Remmina. Remmina is a wonderful free and open-source remote desktop client that supports Remote Desktop Protocol, VNC, NX, XDMCP, SPICE and SSH protocols.
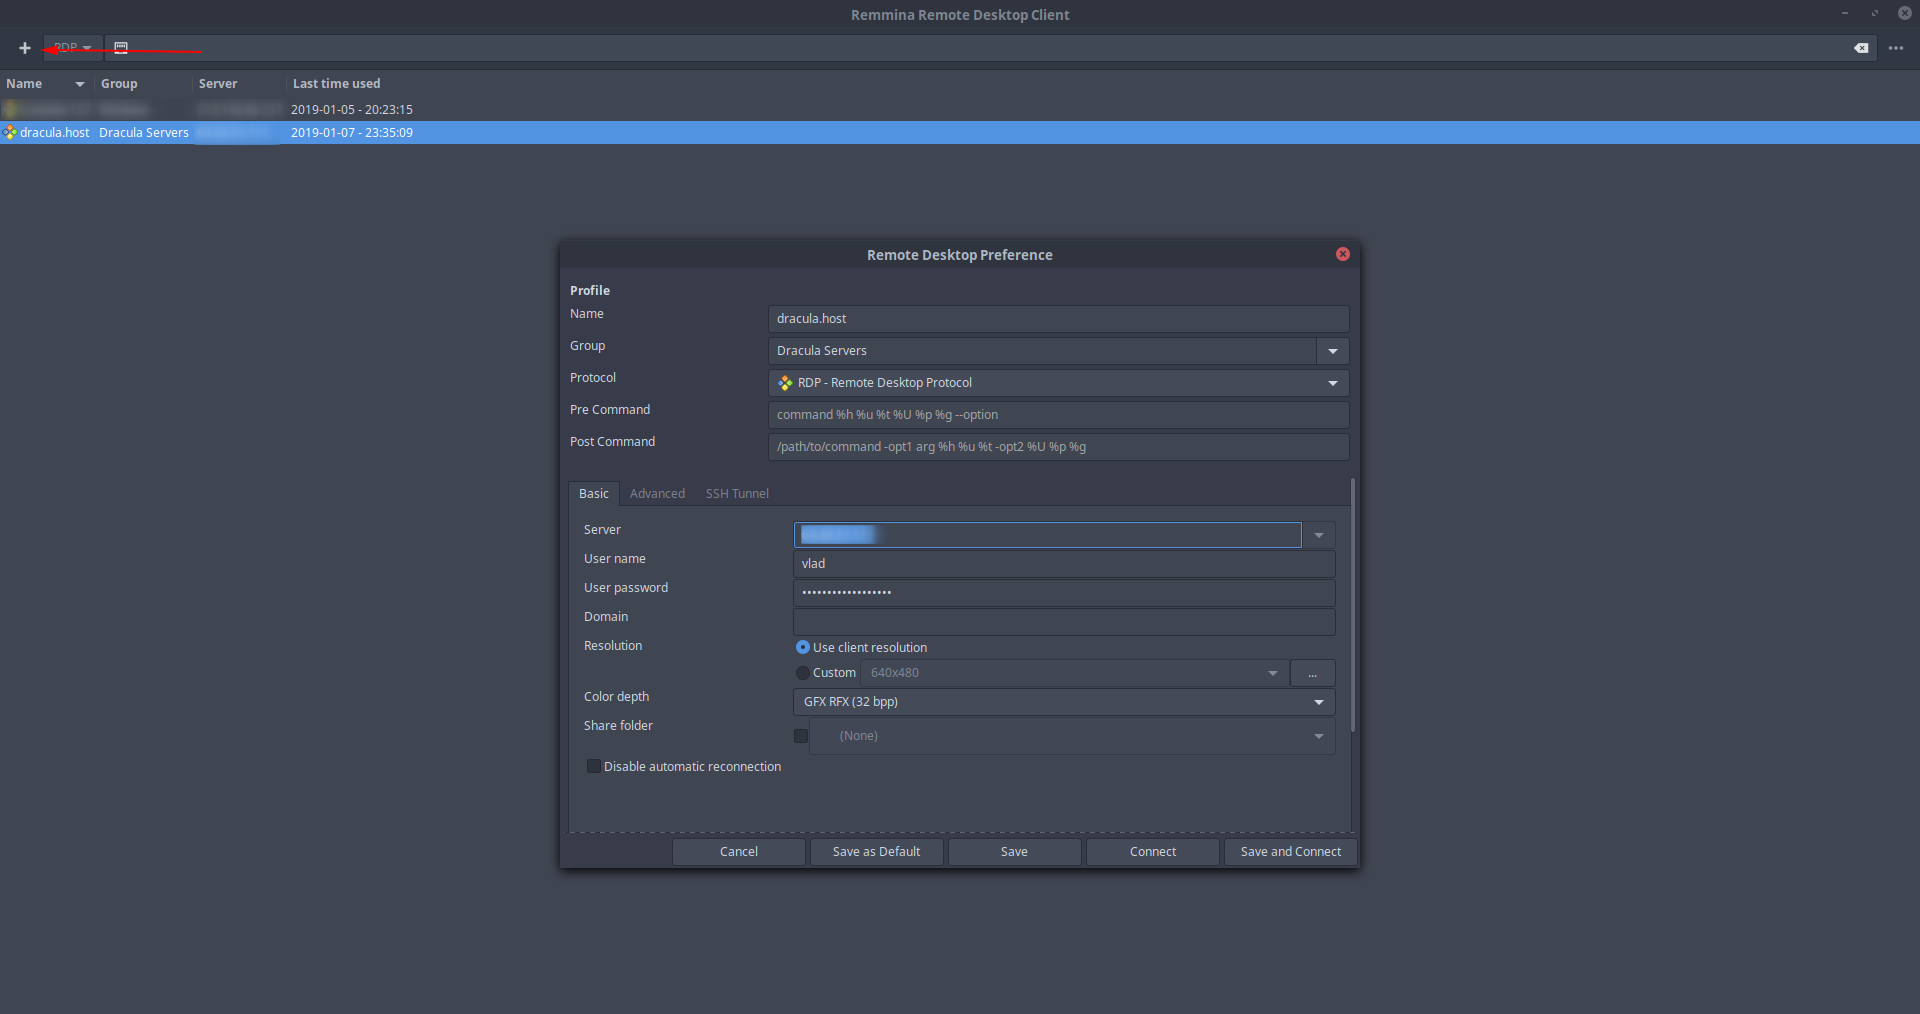
To use Remmina to connect from Linux to your remote machine, just run Remmina after installing it, click the `+` in the top left corner and fill in your remote machine’s IP/Hostname, Username and Password.
If you’re running Debian/Ubuntu/CentOS/Fedora locally, you can install Remmina using the following commands:
Debian/Ubuntu
$ sudo apt-get install remmina remmina-plugin-*CentOS/RHEL
$ yum install remmina remmina-plugins-*Fedora 22
$ sudo dnf copr enable hubbitus/remmina-next$ sudo dnf upgrade --refresh 'remmina*' 'freerdp*'You'll notice we are also installing `remmina-plugins-*` because our main interest is installing the Remmina RDP plugin, as it may not be installed by default.
You can find more detailed installation instructions, and instructions for other distros on their website, here How to install Remmina - Remmina.
Connect from OSX
To connect from your Mac, you'll first have to download the Microsoft Remote Desktop App from the App Store
After launching the app for the first time, you'll first want to create a new connection. To do this click on the `+` in the top left corner of the app window.
The essential information you need here is for PC Name, User name and Password.
Just fill in the info for the 3 mentioned fields as follows:
PC Name - The IP or Host name of your remote machine. Most likely you'll want to use your IP.
User name - The username you used when installing xRDP and the desktop environment on your remote machine. Either `root` or your `sudo user`.
Password - Your CentOS user's login password.
After which the connection should be saved and you should be able to start the connection to the remote machine.
For additional info and support, you can read the instructions for Remote Desktop on Mac on Microsoft's Website.
Conclusion
Well done. You've hopefully learned how to install xRDP on a CentOS 7 machine and use 3 different desktop environments over remote desktop connection.
If you've encountered any issues when following this tutorial, please feel free to let us know in the comments or by contacting us.